How to Add a Cursor (Mouse Pointer) to a Print Screen Image
Mouse Pointer/Cursor
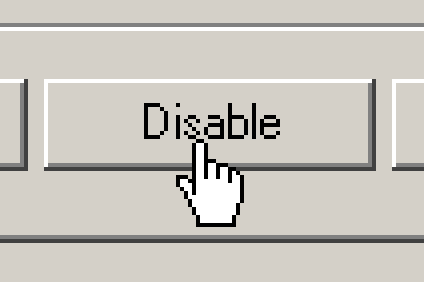
The elusive Mouse cursor, the only thing not captured with the Windows Print Screen function. When trying to illustrate clicking on or pointing out something specific while providing directions or creating a presentation, you will need to paste an image of a cursor into the screen shot. Many photo editing programs allow the user to do this. In this tutorial, I explain how to perform this simple process using Microsoft Paint.
|
Things You'll Need:
* Any Windows OS * Minimal experience using Microsoft Paint |

|
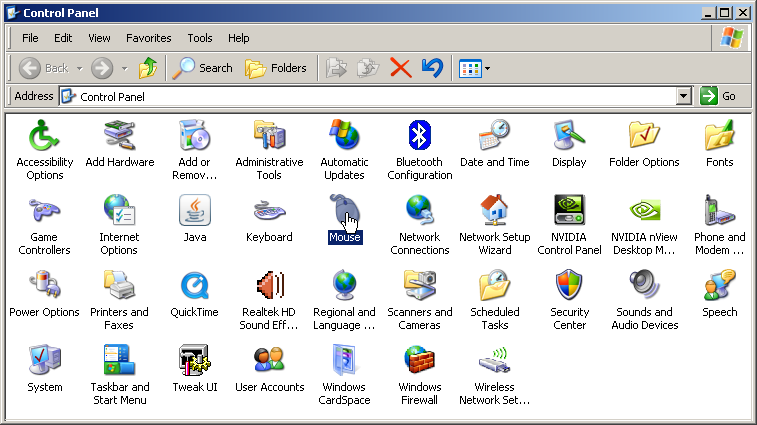 Control Panel Mouse
1. Create a Print Screen image of the cursor you want to use to illustrate your point [or 'pointer,' in this case]. To do this, you can navigate to the Start/Control Panel and double-click the Mouse Icon. In the Mouse Properties window, click on the Pointers tab. You could create a print screen image of any other cursor you desire and do the same, using the following steps.
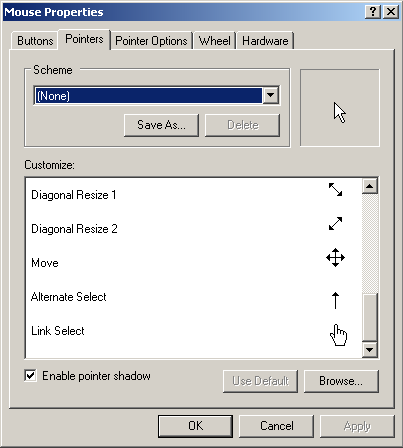 Capture Cursor Image
2. Select the Pointer you want to use, if it appears in the default icon window. Without clicking to highlight it, hit your Print Screen Function key. Some Microsoft keyboards have an F-Lock key which you will need to toggle off in order to capture a screen shot to the Clipboard. Once you have a print screen image of the cursor you want to use, move on to Step 4.
3. Scroll down in the Scheme section, to select any one of the 20 Windows Schemes, if you would like more options. When you see the one you want in the Customize window, without clicking to select it, hit your Print Screen function key.
4. Open Microsoft Paint, by clicking on the program shortcut in start menu/all programs/accessories. Scroll down in the command bar under Edit to Paste your print screen image or just hit Ctrl + V. 5. Select your cursor choice from the print screen image, using the select tool. Crop your selection. Enlarge the image with the magnifying glass, hit Ctrl+A and position the cursor against the upper/left corner of the window. 6. Resize the image window by grabbing the corner marker at the lower right-hand corner and dragging it towards the upper left-hand corner. 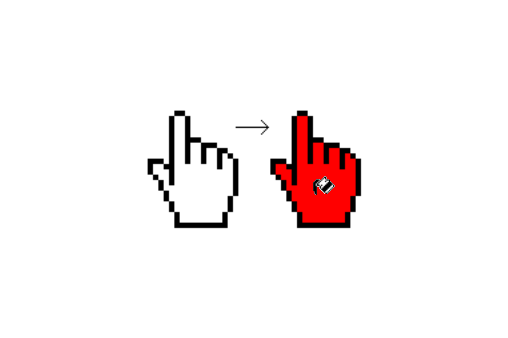 Color Fill Cursor
7. Use the Color Fill tool and change the white insides of your cursor to any solid color except for black. White being the default transparent (right-button) color. Without colorizing the cursor image, you will only see the black outline once you have pasted it into the intended background. The cursor would appear transparent. Name the image, save it in png format and close it.
 Paste Cursor
8. Edit your Print Screen image by right-clicking and selecting Edit. Select the Magnifier tool and click to enlarge the area in which you wish to add the cursor image. Scroll down under the Select tool and click to add the check next to Transparent Selection. Scroll down under Paste to Paste From..., and select the Cursor file you created.
 Restore Cursor
9. Drag and drop the image from the upper left-hand corner. Once you have positioned your cursor image, restore the original color with the Color Fill tool.
Tips
* Save your image, after each successful step of the process. * If you don't like where you have placed your Cursor, before you save the image, hit Ctrl-Z to undo up to your last 3 moves. * You can save and edit MS Paint images in the following formats: BMP (Monochrome, 16 & 256 color, 24-bit), JPEG, GIF, TIFF and PNG. Copyright 04/12/2009 All Rights Reserved. Questions? Comments? Contact Me Related Article: Audio/Visual Article - Sub Directory |
|