How to Install Vinyl Mini Blinds
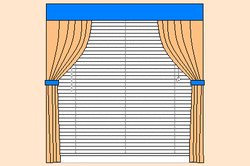
Vinyl Mini Blinds
Window blinds allow passive light to enter a room while providing privacy. Mini blinds, a narrower version of the Venetian blind first developed in 1794. They come in many colors, with white the most popular, and can stand alone or complement other window treatments.
|
What You'll Need:
* Tape Measure * Cordless Drill or screwdriver * Properly sized Mini Blind kit (incl. hardware) |
|
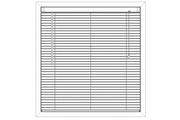
 Installation Hardware Installation Hardware
1. Install window blinds inside of the window frame (as shown) as well as above or on the face of the frame. Installed inside of the frame, they will not interfere with the smooth operation of curtains or valances. Using the screws provided, you can attach the end caps to the top or outside edge. Important to note that the open end with the sliding cover faces forward. Blinds will come with a centering/support bracket, better suited for blinds wider than 36" which may tend to sag over time (especially darker-colored blinds used in areas of high heat).
 Locking cover Locking cover
2. Install the end caps and optional center support. Then, set the upper cross beam of the blinds into position, with the adjusting rod to the left-hand side. Slide the covers into place in the end caps, to lock the blinds in place.
 Adjusting mini blinds Adjusting mini blinds
3. Raise and lower the blinds by pulling the cords towards the left to release the locking mechanism. Adjust the pitch of the blades by twisting the rod clockwise or counter-clockwise.
Tips
* Insert a screw upwards through an end bracket to keep your Blinds centered, in the absence of the centering/support. * Window blind kits usually come with attachments made for anchoring the bottom crossbar to the window sill, as an option. Warnings * Keep pull cords tied short and out of reach of infant children and pets. * Never assume that you neighbors cannot see you through your blinds! Copyright 01/07/2009 All Rights Reserved. Questions? Comments? Contact Me Related Articles: Interior |
#ad |