How to Install Vinyl Soffit
Vinyl Soffit
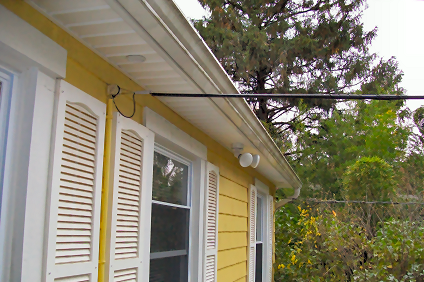
In an effort to spruce up your house, you might want to install Vinyl Soffit. Vinyl soffit and vinyl siding can protect your house from the elements, and eliminate the need for scraping, priming and painting; year after year. Vinyl also offers some protection against bird and insect damage. However, it offers no protection from squirrels! You need not hire a professional, if you are handy with tools and steady on a ladder. You can do it yourself, improve the looks of your house and save big bucks!
|
Things You'll Need:
* Vinyl Soffit * J-Channel * Fascia Wrap * 3" round Soffit Vents * #8 x 1-1/2" Sheet Metal Screws * 1" Aluminum Trim Nails * Aviation Snips |
* Combination Square * Tape Measure * Claw Hammer * Wood Chisel * 3" Hole Saw * 3/8" Cordless Drill * Extension Ladder |
#ad |
#ad |
#ad |
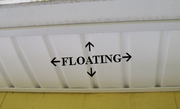 Floating Panels Floating Panels
1. Measure the area you want to cover. Vinyl Soffit, whether solid or vented, comes in 12 linear foot lengths. Once assembled, the exposed area between the locking channels will be 12 inches wide. This means that a section 12 feet wide and 12 inches deep (front to back) will use 1 length of Soffit or 12 square feet. Cut the panels approximately 1/2" short of the full depth, to allow for expansion.
 Remove wood trim
2. Cut out and remove any wood trim in the way of the J-channel, using a sharp wood chisel and a claw hammer. Install J-channel along the sides and inner edge to hold the panels in place. See Step 7 for an optional method of securing the front edge of your vinyl soffit.
 Secure old Soffit
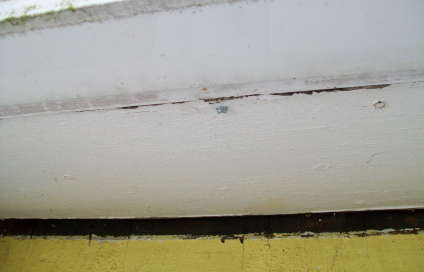
3. Secure any pre-existing loose or sagging soffit panels with screws. For this application, I used #8 x 1-1/2" hex head sheet metal screws. The thread closely resembles those of a wood screw, and the flange acts as a washer to increase the surface area. Screw threads hold tight, whereas nails will often pull out or pop through over time.
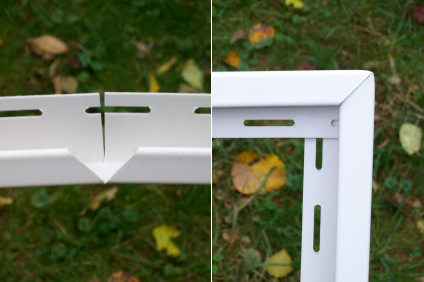 Mitered corners
4. Cut 45º angles and notch the J-channel to form 90º corners. Mitering the J-channel instead of end-butting two sections together makes for a much stronger joint.
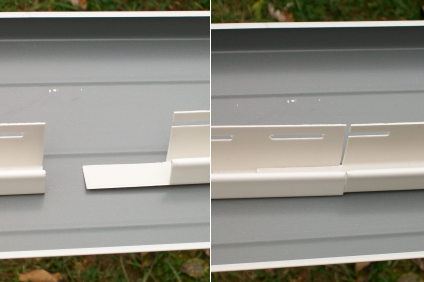 Extending J-channel
5. Cut a tab at one end of the J-channel to insert into the next length. This prevents them from separating, while allowing movement.
 Attach J-channel
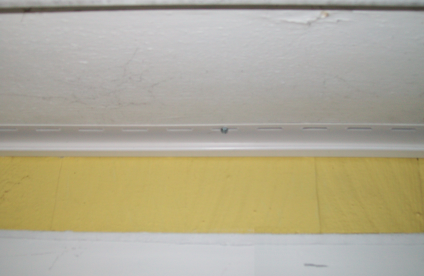
6. Attach the J-channel using screws. Vinyl has a tendency to expand and contract with temperature changes. Place the screw in the center of the slot and snug it just tight enough to allow side to side movement to prevent the slot from tearing through. Take the time to locate trusses and mark vent locations.
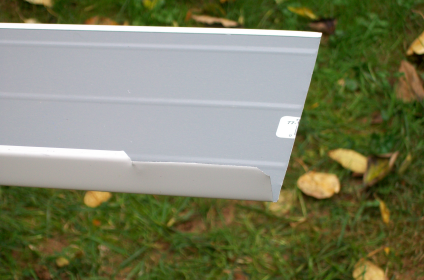 Extending Fascia Wrap
7. Extend fascia wrap by cutting about 2" off of the lip to inserting it into the next length. Fascia wrap also comes in 12 linear foot lengths. It serves to protect the fascia from the elements. In this case, it also serves to hold the outer edge of the vinyl soffit panels in place. Aluminum fascia wrap will also expand and contract. But, it is minimal, when compared to its vinyl counterpart. If you do not intend to install fascia wrap here, you should use J-channel to secure the vinyl soffit panels. This makes the panels much more difficult to insert, however.
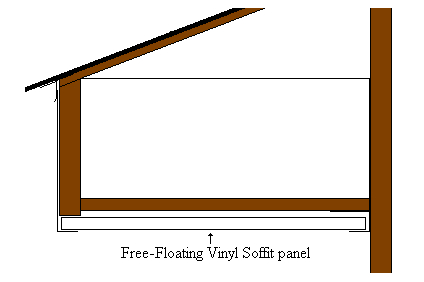 Free Floating Panels
8. Tuck Fascia wrap behind the drip edge to avoid trapping rain water against wooden fascia boards. Attach this using 1" aluminum trim nails along the top edge. If you install rain gutter over the fascia wrap, nail only the upper edge. Otherwise, nailing both the upper and lower edge is necessary to prevent the fascia wrap from backing away and releasing the soffit panels. With the upper edge tucked under the drip, and nailed securely, gently pull back the lower edge and insert the vinyl panels two at a time. Work one under the other, to lock each pair into the last channel. Do not secure these panels tightly to the wooden soffit above, unless depth precludes it, especially in areas which experience extreme temperature variations between the seasons. Remember, vinyl expands and contracts.
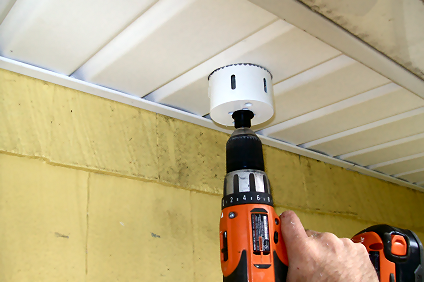 Hole saw
9. Ventilate the soffit, unless you include vented panels to prevent excessive heat build up or condensation. This particular job required coverage of only 22 feet. Instead of buying a 12' length of vented soffit, most of it going to waste in this narrow space, install several three inch round ( 7.068 square inch) aluminum soffit vents. Soffit vents, in combination with Gable vents or Ridge vents, allow attic insulation to work at optimal efficiency. If you multiply your attic space by length and width and divide that number by 300, you will find the square footage. Multiply that number by 144, then divide the resulting number by 2, gives you the minimum square inch ventilation recommended. Ideally, the total air intake will equal or slightly exceed exhaust space. Using a sharp three inch hole saw, carefully center and cut through both the vinyl and wooden soffit. Push any insulation away from the opening.
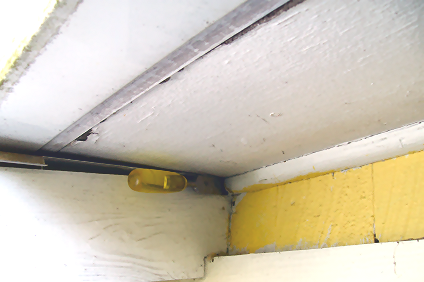
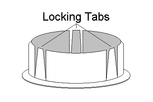 Locking Tabs
10. Paint aluminum soffit vents to match the vinyl. Keeping in mind that the panels need to free float, especially in areas of extreme temperature changes, cut several notches to form locking tabs. After placing the vents, using the blade of a pocket knife or a narrow putty knife, carefully inserted through the fins, bend the tabs outward over the vinyl soffit panel.
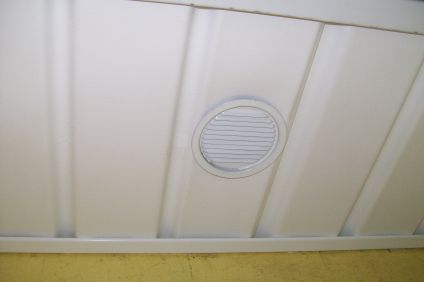 Circular Soffit Vent
11. Lock the vents securely in place. The finished appearance should look smooth and appealing to the eye.
Tips
*This is the perfect opportunity to replace that old, weather-beaten, flood light! Warnings * If your hole saw is not sharp, or your hand is not steady, you may end up tearing a soffit panel. * If your intake ventilation is less than your exhaust, in square inches, airflow will be insufficient and may actually cause whistling. Copyright 11/30/2009 All Rights Reserved. Questions? Comments? Contact Me Related articles: Exterior |
|