How to Replace a Doorbell
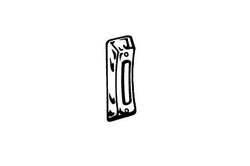
Doorbell button
Whether doing a little renovating or replacing a faulty Doorbell button the task need not overwhelm you. A simple job, providing you have sound electrical wiring (no pun intended). Aside from choosing the replacement, you simply swap out the existing hardware. For that matter, you might just decide to go wireless! Options vary, such as color, shape and size, whether lighted or not.
|
Things You'll Need:
* Phillips or Flat tip Screw Driver * Needle Nosed Pliers * Liquid electrical tape * Weatherproof Caulking |
|
|
1. Think safety first by disconnecting the power! Although the Doorbell circuit operates on low voltage, it can shock you. Besides, a spark could ignite flammable material inside of the door frame, or burn out the bulb of a lighted button. Often, you will find the Transformer surface-mounted to the breaker panel. You may find the Transformer piggyback-mounted to a 15 amp light fixture or electrical junction box in an unfinished basement ceiling. Trace the circuit and turn off the breaker.
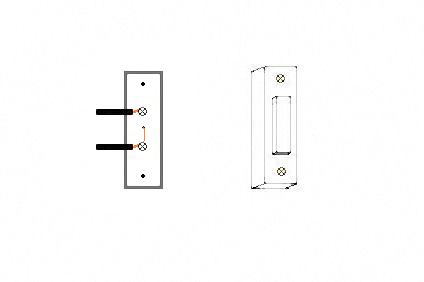 Rectangular lighted doorbell button
2. Size the replacement doorbell button to make sure it will fit in the same location. Elaborate door trim often precludes the use of a rectangular doorbell button. Limited space usually calls for a round button.
3. Remove any mounting screws, separate any caulking, and gently pry the old button assembly out.
4. Clamp short wires to hold them in place. Use a clothespin or a hemostat (gentle pressure) on the wires, as a temporary clamp. Insulate the contact terminals and screws with liquid electrical tape to prevent oxidation. 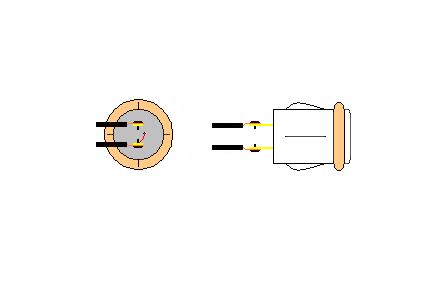 Round lighted doorbell button
5. Trim away the old caulking before installing the new button, to assure a flush mount. If the replacement is a different size or shape than the original, the screw holes may not line up. Use a cordless drill with a 1/16" bit to drill pilot holes, while holding the button assembly in position. Reapply caulking as necessary, after securing the new button in place. A round button should fit the hole the old one came out of. Caulk as necessary to prevent moisture infiltration.
Tips
* If you wanted an unlighted button but couldn't find one, you can always remove the thin wire feed leading to the bulb. * Simple push buttons may only have spring clips around the cylinder to anchor them into a hole bored through the frame. If the replacement fits loosely, carefully pry out on the clips and reinstall. * Concerned about electrical safety? Do you have wiring issues? Go Wireless! Warnings * Be very careful not to touch any contacts, when inside of a breaker panel! * If it is necessary to drill pilot holes, be mindful of the wiring inside of the frame. Copyright 01/16/2009 All Rights Reserved. Questions? Comments? Contact Me Photo Credit: Button drawing courtesy of cornerhardware.com Related Articles: Electrical DISCLAIMER: All of my Electrical tutorials are meant for those with working knowledge of electrical wiring and should not be attempted by first-time novices. |
#ad |