How to Paint Wood Doors

Front Door
The front entry door of any house, generally the central point of focus, should draw a visitor in. Whether painting your wood door for the first time or changing the original color, following specific steps will help you do it right.
|
Things You'll Need:
* Flat or Phillips Screwdriver * A pair of Sawhorses * Medium/Fine Sandpaper * Electric Pad Sander (reciprocal not orbital) * Clean, lint free Rags * Kilz Total One Primer * Exterior/Interior Oil Base Paint * 2" Angled Brush * Fine Nap Roller * Painter's Tape * Drop Cloth |
|
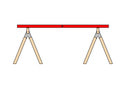 Sawhorses Sawhorses
1. Tackle this project by removing the door from the hinges. You will find it much easier to prepare the door if you can work on it in a horizontal position. You will need the leverage!
2. Remove the hardware (ie: the knobs, lock assemblies, peep hole, door knocker and kick plate). This prevents abrasive damage as well as the necessity to mask off these areas.
3. Sand an unfinished door using fine grit sandpaper. If, however, the door has had a stain or paint applied, you will need to start off with medium grit sandpaper. Follow this with fine grit sandpaper. Sand WITH the grain. 4. Wipe the door down with a clean lint-free rag, after you have roughened all of the finish. Although you only prime and paint one side at a time, sand BOTH sides and all edges first! 5. Prime all the edges first. Once that cures, rehang the door on its hinges. Now, you can easily apply primer on all of the remaining surfaces, without causing damage to the new finish. Remember to lay drop cloth down, to protect the floor. If your door has windows, apply painter's tape on the edges of the glass panes to keep them clean (or, be prepared to use a razor blade scraper). For a solid door (w/ out windows), use a 2" angled brush for the edges and a fine nap paint roller for the broad surfaces. This applies to both Primer and finish paint. Apply too much and you will likely end up with ugly drip marks. Apply it too thin and the color of the primer will show through. Besides, it won't last as long as when properly applied. 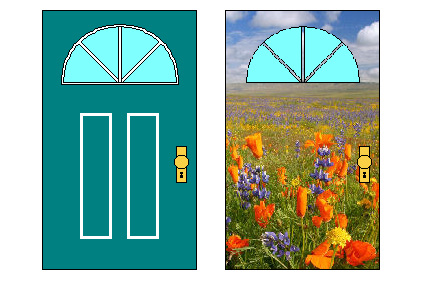 Door Options
6. Show some imagination. Paint the trim a different color than the panels, to add definition. Immortalize your favorite pet by painting their life-sized image. Paint your favorite flowers or a wildlife scene. Not talented enough? Seek out an art student at the local College. They're usually affordable and grateful for the exposure. (see warnings below)
7. Reinstall the remaining door hardware, once the finish paint has completely cured.
Tips * While the door is removed, if you have screw threads stripped out, now is the time to repair them. * Size a wooden dowel rod and drill out the screw hole. Coat the dowel with wood glue and tap it snugly into place. After the glue has cured, cut the dowel flush with a utility knife. * If threads tear out, while you are rehanging the door, coat as many tooth picks with wood glue as it takes to stuff the hole tight, tapping them firmly into place. When the glue has cured, cut the tooth picks flush and install the wood screw. * Try not to get primer or paint in screw holes, the peep hole or the holes bored for the lock & knob assembly. It will only need to be cleaned out before your hardware will fit properly. Warnings * Edges left un-primed are subject to swell in moist/humid weather causing the door to stick. * Consult with your immediate Neighbors and Homeowner's Association before making any drastic changes, to preserve the peace and property values. Copyright 01/16/2009 All Rights Reserved. Questions? Comments? Contact Me Related Articles: Exterior |
|